On the next screen, you will need the URL to your web store, a user ID and a password for your AspDotNetStorefront store. To get this information, please take these steps:
- Check your AspDotNetStorefront environment
- Confirm that you are running AspDotNetStorefront v 7.0.2.1 or higher
- Check that the API (called WSI) is working. See http://manual.aspdotnetstorefront.com/wsi/ for details. One quick test is to build up a url to your “ipx.asmx” file and test that it works. E.g. http:////ipx.asmx This should give an “import webservice” web page.
- For questions or issues related to the WSI interface in AspDotNetStorefront, please contact AspDotNetStorefront support
- Ready? Good! This will just take a couple minutes.
- First create a long (30 character), strong password using a tool like http://www.pctools.com/guides/password/
- Copy this new password to Notepad, to keep it handy.
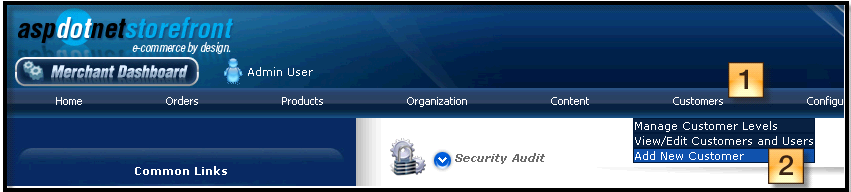
- In another browser window, open your AspDotNetStorefront Merchant Dashboard
- Click Customers, Add New Customer.
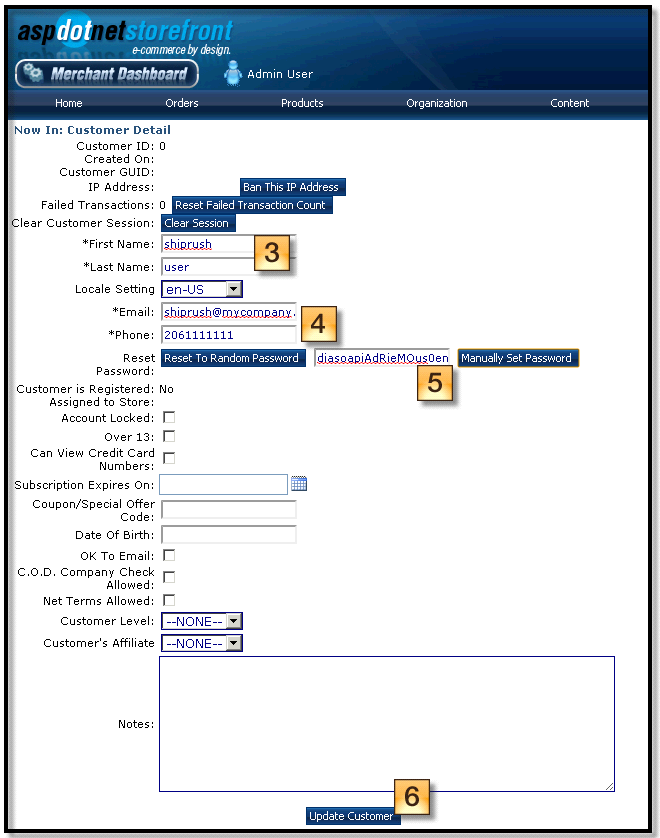
- Fill in the Customer Detail. Minimally, enter First Name, Last Name, email (use an email like “shippingsystem@mydomain.com” — the address need not be real), Phone (enter your phone number). Use the password created above, and press Update Customer to add the customer.
- Now go to the list of Customers by selecting Customers, View / Edit Customers
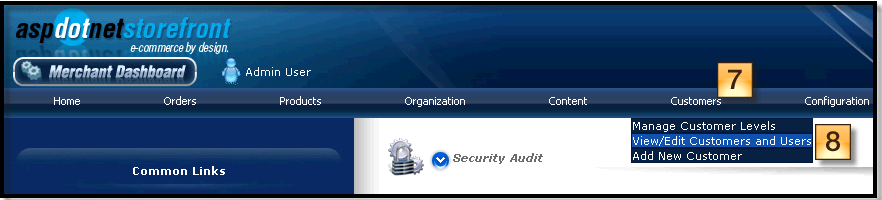
- Find the user you just created.
- Press the “Set Admin” button


Note! By default, passwords on AspDNSF expire every 30 days. When this happens, it will be necessary to update the password here in the web store. Alternately, the password expiration can be adjusted in the AspDNSF merchant console:
— Configuration | Advanced | AppConfig Parameters
Set the AppConfig: AdminPwdChangeDays to 90 days or as desired.